Campground Equipment Planning: Building a Procurement Checklist
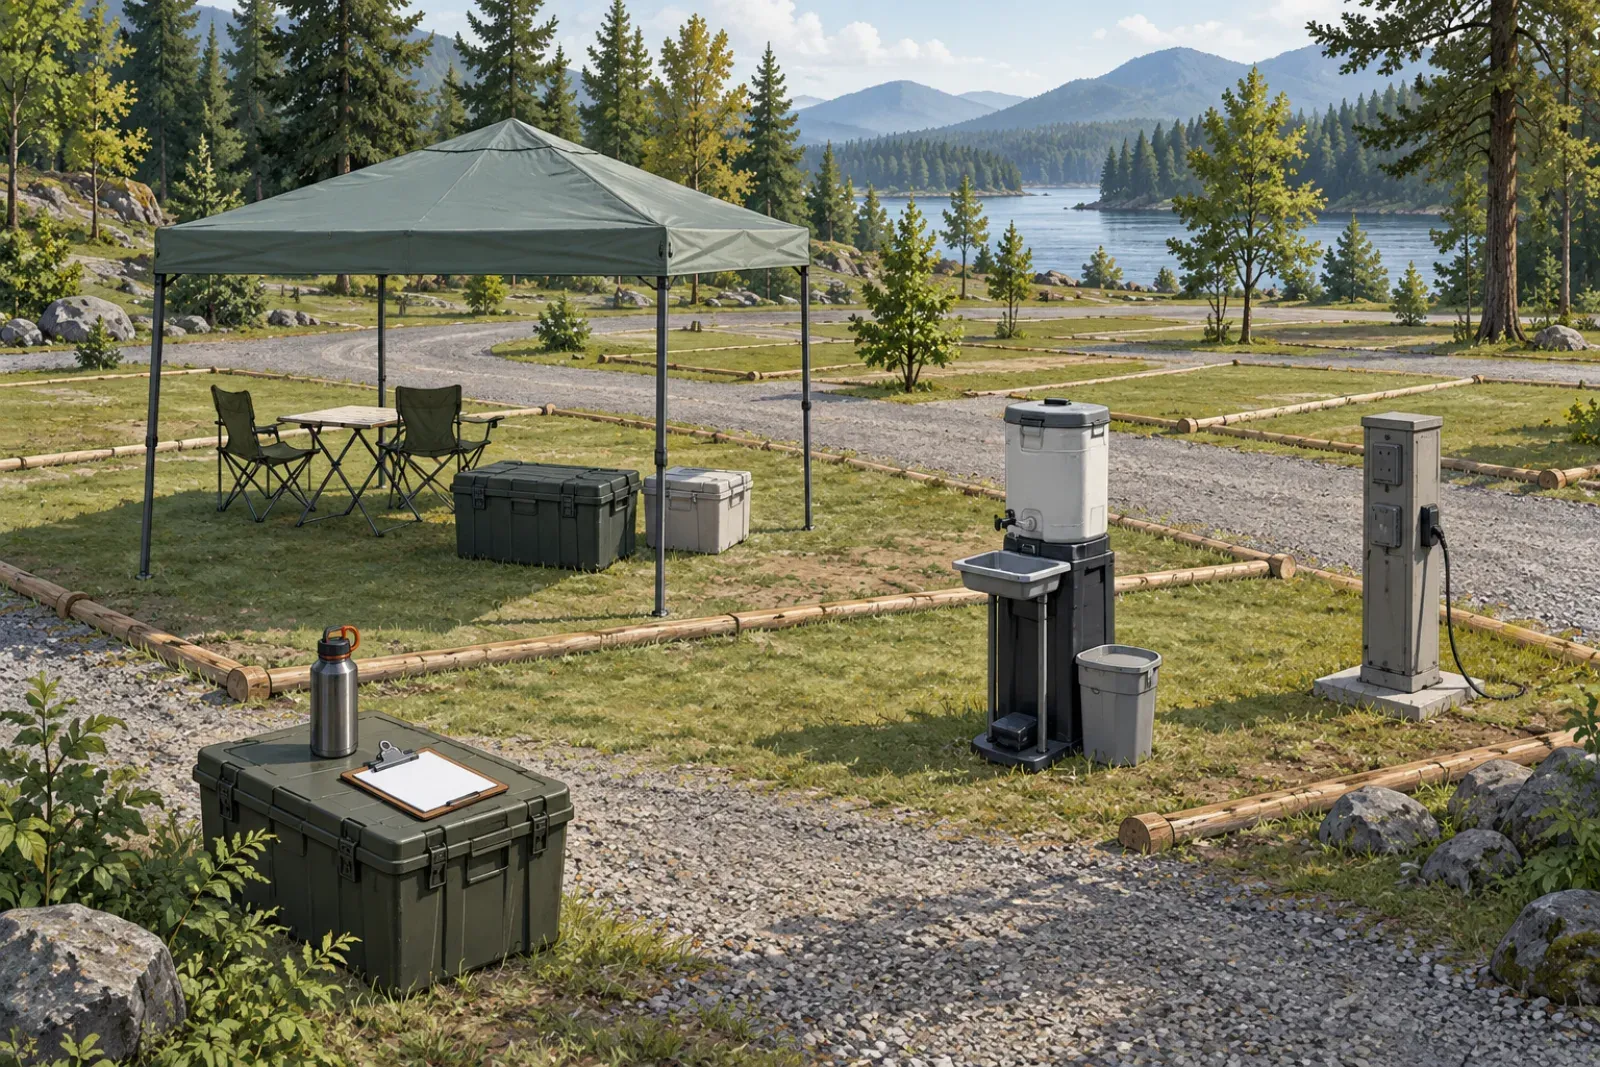
Buying for a campground usually goes wrong in one of two ways. Either the list is built from a catalog (“what do suppliers sell?”) and misses a function the site needs, or it is built from last season’s memory and nobody can say who maintains what. A function-based inventory avoids both. It starts from what guests and staff need to do on the site, and only then asks which equipment supports each task.
This guide walks through that method. It is part of the Camp & Site Equipment hub. It does not recommend specific products or prescribe counts, because the right quantities depend on your layout, season, guest numbers and local rules.
What this template is not. It is a planning and procurement tool. It is not a permit checklist, an inspection record or evidence of compliance. Fire, sanitation, water, electrical and accessibility requirements vary by jurisdiction and by site type, and must be confirmed with the local authority and your insurer before you buy or install anything.
Map the site functions and users
Start with people, not products. List who uses the site and what each group has to do there.
- Guests arrive, check in, pitch or occupy a unit, wash, cook or eat, sleep, and leave.
- Staff or volunteers run check-in, clean, restock, handle waste, respond to problems and service equipment.
- Visitors with specific needs, such as guests with limited mobility or families with small children, may change what a zone requires. Ask what the local accessibility rules say rather than assuming.
- Suppliers and service teams need vehicle access, a delivery point and a place to hand over equipment.
Then group the site’s activities into functional zones. The plan-view diagram below uses six zones. Your site may merge some (a small site may combine arrival and storage) or split others (water and waste often deserve their own rows).
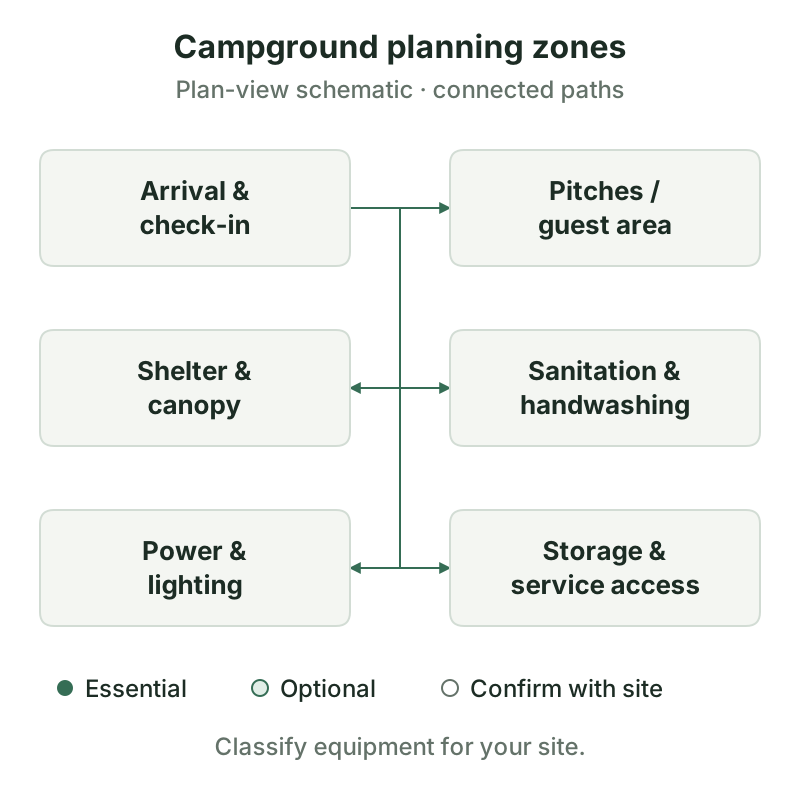
Nine functions cover most small and medium sites. Use them as prompts, not a mandate:
- Arrival and check-in
- Pitches and guest areas
- Shelter and canopies
- Sanitation and handwashing
- Water
- Waste and recycling
- Power and lighting
- Storage and service access
- Safety and first aid
For each function, write one sentence on the task it supports and one on who is responsible for it on a normal day. If you cannot write the second sentence, you have found a gap before spending any money.
Build an equipment inventory by function
Create one row per item, grouped by zone. Each row needs the same fields so that the list can later be sorted, filtered and handed to a supplier or a service team. The template at the end of this guide uses seven.
Some prompts for each zone follow. These are things to consider, not an exhaustive or mandatory list.
- Arrival and check-in: a covered desk or counter, wayfinding signs, a way to record arrivals, lighting for evening arrivals.
- Pitches and guest areas: pitch markers, any provided furniture or fire-safety equipment your rules call for, waste containers within reach.
- Shelter and canopies: temporary shelters for shade or weather. Check anchoring and weight requirements in the manufacturer’s documentation for the ground you actually have.
- Sanitation and handwashing: handwashing stations, soap and towel supplies, toilet facilities as required locally. Ask the local authority what must be provided and how it must be serviced.
- Water: potable supply points, hoses, storage, and the labeling that separates drinking water from other uses.
- Waste and recycling: bins, liners, lids, and a collection point that a service vehicle can reach.
- Power and lighting: supply points, cabling, lights for paths and shared areas. Load sizing is covered in portable power station sizing, and lighting choices in the work light buying guide. Electrical rules vary by jurisdiction; OSHA’s electrical safety pages are one pointer that US workplace rules exist, not a statement of what applies to your site.
- Storage and service access: lockable storage, shelving, a protected place for batteries and consumables, and a route for service vehicles.
- Safety and first aid: first-aid supplies, a communication method, emergency information at a known location, and whatever your local authority requires for fire safety.
Separate essential and optional items
Classify every row. Three labels are enough.
| Classification | Meaning | Test |
|---|---|---|
| Essential | The site cannot operate or open without it | Would a guest or staff member be unable to do a core task? |
| Optional | Improves comfort or efficiency; the site can open without it | Can it be deferred or rented without affecting operation? |
| Confirm with site | Depends on a local rule, a landowner decision or a site condition | Who must answer, and by when? |
“Essential” should mean essential for your site. A listing of what other campgrounds provide is not the same thing. Equally, do not label an item Essential because a supplier suggested it.
Use “Confirm with site” generously early on. It turns unknowns into questions with owners. Typical entries are anything touching fire safety, sanitation capacity, water supply, grounding or wiring of power points, and accessible routes. Resolve every one of them before the procurement plan is final, and replace the label with Essential or Optional once you have the answer.
A short illustration shows how the labels might read. This example is illustrative only. It assumes a hypothetical small seasonal campground with a single shared washing area, no permanent buildings, and a local authority that has not yet confirmed its handwashing requirements. It makes no claim about what any real site needs.
| Zone | Item | Classification | Reason (illustrative) |
|---|---|---|---|
| Sanitation | Handwashing station | Confirm with site | Local requirement not yet confirmed |
| Arrival | Covered check-in desk | Optional | Check-in could use an existing building |
| Power and lighting | Path lighting | Essential | Guests move around after dark |
| Storage | Lockable equipment store | Essential | Equipment needs protecting between uses |
Assign servicing and storage responsibilities
Equipment that nobody owns is the equipment that fails first. For each item, decide two things before you buy it.
Who services it? Name a role, not just a department: site manager, cleaning team, external contractor, supplier. If a contractor does the work, note it so the cost appears in the budget. For model-specific care, rely on the manufacturer’s manual and build the schedule using the maintenance planning guide. Do not invent service intervals.
Where is it stored when not in use? Seasonal sites need an answer for the off-season and for bad weather. Consider space, security, drainage and ventilation, and whether batteries or consumables have storage conditions written in the manual. Storage also affects what you can buy: if an item will not fit in the store you have, you either need a different item or a different store.
Record both in the inventory so a new staff member can find out what a thing is, who looks after it and where it lives, without asking anyone.
Turn the inventory into a procurement plan
Once every row has a classification and an owner, sort by classification and work through the Essential items first.
Quantities. Write down the basis for every quantity, not just the number. A basis might be “one per washing area as required by local authority (to confirm)” or “to cover the longest path, per the lighting plan”. If you cannot state a basis, the quantity is a guess and should be marked as one. This guide deliberately gives no per-guest ratios, because published ratios differ by jurisdiction and site type and you should take yours from the authority that governs your site.
Lead times. Ask suppliers for delivery times in writing and work back from your opening date. Seasonal demand can lengthen lead times, so confirm early rather than assuming.
Documents to request. For each item, decide what you need to see: the manual, any test report and its scope, certificates that apply to your jurisdiction, spare parts lists and warranty terms. How to check supplier evidence is covered in a separate guide, how to check a supplier’s test report.
Budget lines. Separate purchase price from delivery, installation, consumables, spares and storage. A cheap item with expensive consumables is not cheap.
Delivery and storage. Decide where goods arrive, who signs for them, who checks them against the order, and where they go until they are installed.
When the plan is ready, put the requirements into a request for quotation so that every supplier answers the same questions. How to write an RFQ for outdoor equipment shows the structure, and this inventory is a direct input to its application and quantity sections.
Conditions and limits
- The template contains example zone names and empty rows. It makes no claim about what any real site should contain.
- The classification labels are planning aids. Only your local authority can say what is required.
- No quantity here is a recommendation. Take counts from local rules, your own layout and manufacturer documentation.
- This guide does not cover event-specific or temporary-licence rules, which can differ from permanent-site rules.
Campground equipment inventory
Copy the table into a spreadsheet, or download the CSV template. The CSV adds a quantity column and a notes column. Add one row per item, and leave “Confirm with site” until the owner of the answer has replied. More templates are listed on the Checklists & Templates page.
| Zone | Item | Classification | Quantity basis | Responsible for servicing | Storage | Documents to request |
|---|---|---|---|---|---|---|
| Arrival and check-in | (add item) | Essential / Optional / Confirm with site | Why this number | Role or contractor | Where it is kept | Manual, report, certificate |
| Pitches and guest areas | (add item) | Essential / Optional / Confirm with site | Why this number | Role or contractor | Where it is kept | Manual, report, certificate |
| Shelter and canopies | (add item) | Essential / Optional / Confirm with site | Why this number | Role or contractor | Where it is kept | Manual, report, certificate |
| Sanitation and handwashing | (add item) | Essential / Optional / Confirm with site | Why this number | Role or contractor | Where it is kept | Manual, report, certificate |
| Water, waste and recycling | (add item) | Essential / Optional / Confirm with site | Why this number | Role or contractor | Where it is kept | Manual, report, certificate |
| Power and lighting | (add item) | Essential / Optional / Confirm with site | Why this number | Role or contractor | Where it is kept | Manual, report, certificate |
| Storage and service access | (add item) | Essential / Optional / Confirm with site | Why this number | Role or contractor | Where it is kept | Manual, report, certificate |
| Safety and first aid | (add item) | Essential / Optional / Confirm with site | Why this number | Role or contractor | Where it is kept | Manual, report, certificate |
Template version 1.0, savvyskull.com. This template is a planning aid, not a permit or approval checklist.
Downloads
Sources and versions
- Electrical , U.S. Occupational Safety and Health Administration (OSHA) Supports: Pointer that U.S. workplace electrical safety rules exist; not a statement of what applies to any particular campground
Next steps
How to Write an RFQ for Outdoor Equipment
How to write a request for quotation for outdoor equipment: measurable requirements, documents, commercial terms and a response table that makes quotes comparable.